Sunday, May 31, 2015

Summer fever still.....Strawberry Rhubarb Crumble


I am going to save the small talk and get right to the point. YOu can read about the summer fever and rhubarb in the jam post :). Again just like every other time I bake I just wanted to bake! No excuse really neeeded but I found some anyways. These were suppose to be  crumble bars but turned more into just a crumble. Because of that I (with the wonderful help of the smartest mom ever) put them into cupcake liners to share with others. I found the original recipe here http://www.peanutbutterandpeppers.com/2014/05/17/strawberry-rhubarb-crisp-bars-vegan-gluten-free/
but of course changed it around a bit. OH ALSO. I intended to make just one batch but doubled the recipe so this recipe reflects the double recipe! Enjoy :)

Ingredients

    2 cups small-diced rhubarb
    1.5 cup diced strawberries
    1 tsp. cornstarch
    1 tbsp. fresh lemon juice ( I just squeezed half a lemon)
    1 tbsp. granulated sugar, divided
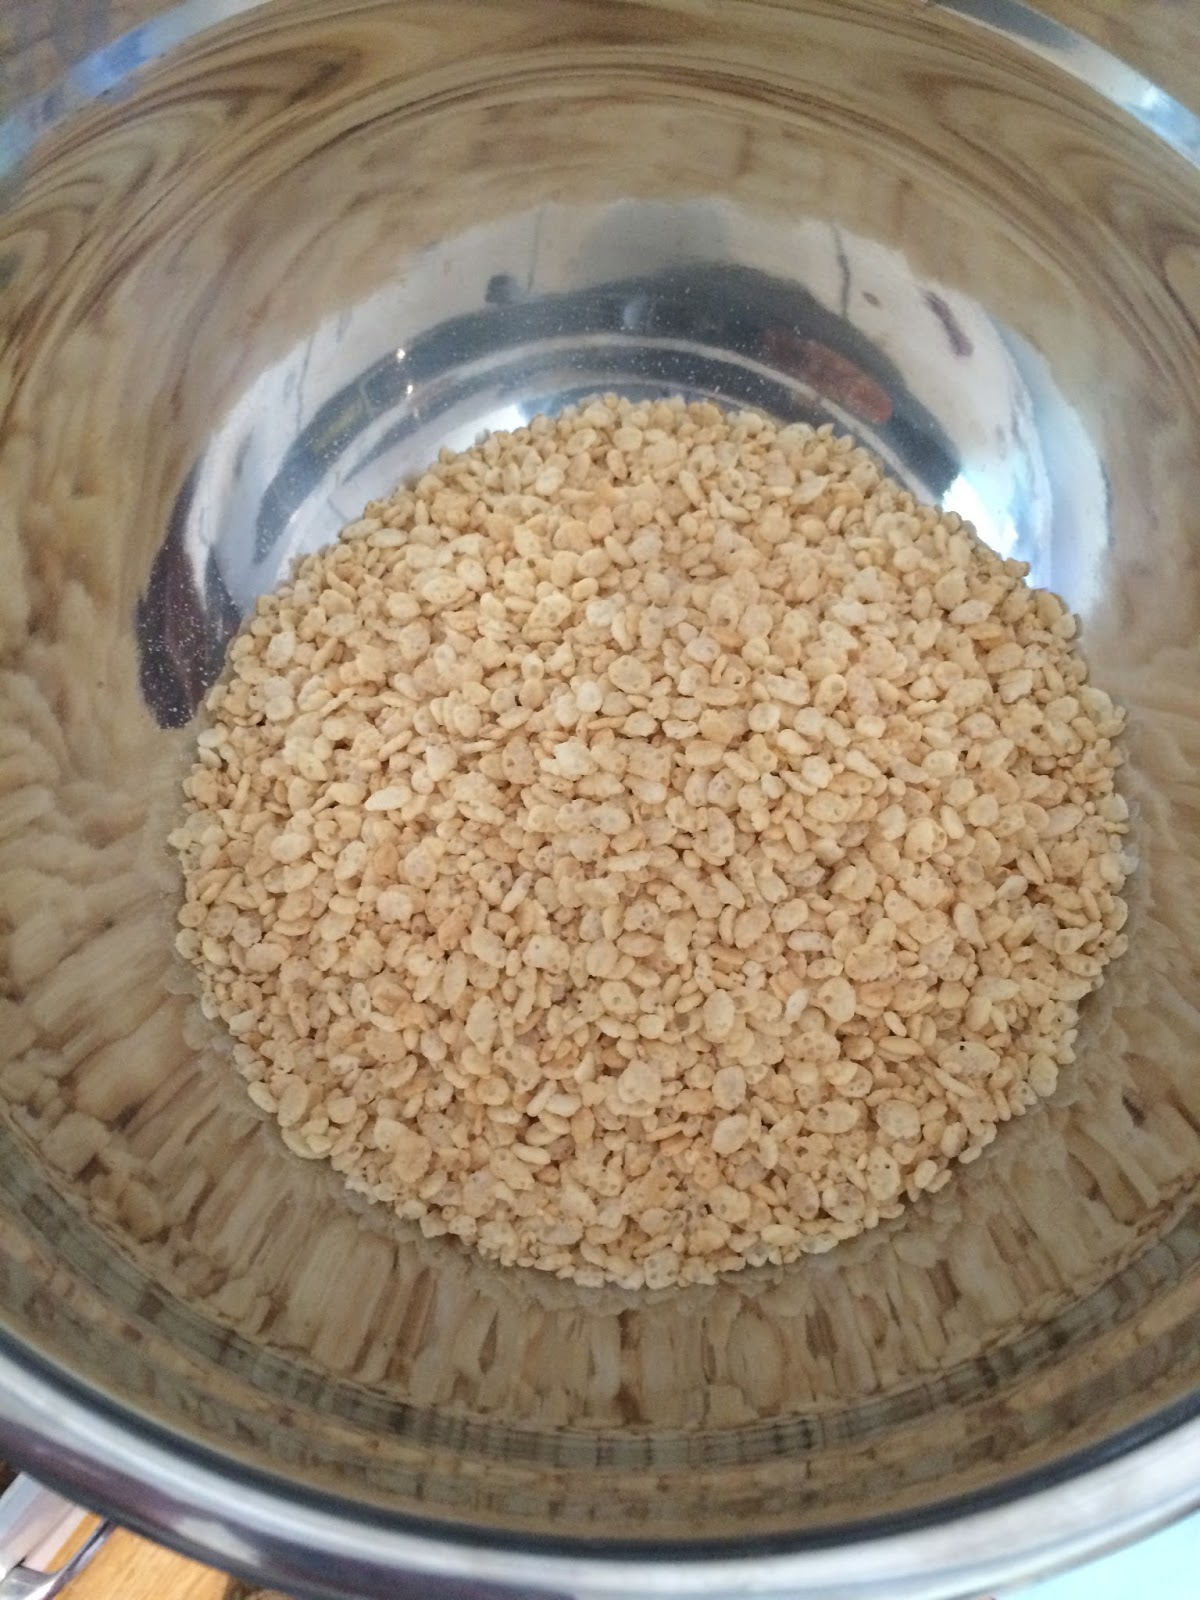
    2 cup rolled oats
   1 cup almond meal
    2/3  cup dark brown sugar
    a pinch of salt
    ⅛ tsp. baking soda
    11 tablespoons coconut oil, melted
    extra brown sugar

Instructions

   1. Heat oven to 350 degrees F.
    2. Line an 9 x 13in  pan with parchment paper
   3. Chop and dice rhubarb and strawberries.


   4. In a bowl, add rhubarb, strawberries, cornstarch, lemon juice,and sugar, mix until combined; set aside (it was really warm in the kitchen so I put in fridge)


   5. In a mixing bowl add oats, almond meal, brown sugar, salt and baking soda; mix until combined.   

 6. Pour melted coconut oil over the top; stir until combined.  At this point I mixed together with my hands :) Coconut Oil is good for the skin isn't it?!
 7. Reserve a half cup of mixture and press the rest of the crumb mixture evenly in the bottom of the pan.
8. Spread fruit over the crust. 
9. Scatter reserved crumbs over the fruit.

10. Bake the bars in the oven for 25 - 30 minutes, until fruit is soft and lightly golden in color.

11. Let bars cool in pan and cut into squares. Mine crumbled so I cut into squares and then put in cupcake liners. 
12. Enjoy plain or heat and top with ice cream :)


Summer fever has hit.....hit hard. Strawberry-Rhubarb Butter/Jam


Clearly I am just in the summer mindset. While perusing the farmers market the rhubarb just looked so good…summer fever has hit. As of last weekend our rhubarb was not ready so I picked up a bunch while at the market only to come home to find out ours is now ready. That only means double the cooking/ baking :) I know it is not truly strawberry season here yet but the berries from the market have been quite tasty. I have not dabbled in the jam making too much but have been wanting to make a strawberry Riesling jam that I did last year again soon. I was planning on making that but with the rhubarb purchase I decided to wait. Instead I found this recipe that I decided to try out    www.meghantelpner.com/blog/quick-and-sweet-like-rhubarb-butter/.
Of course I made some changes and made it my own. If you would like the original just rhubarb butter recipe you can head over to this blog for the recipe 

***I am also using this as a chicken marinade today too! (CAME OUT AMAZING)


Strawberry-Rhubarb Butter/Jam

Prep time: 5

Cook time:  15

Total time:  20

Ingredients

    4 stalks of rhubarb-chopped into pieces (does not really matter size just small enough to fit     into processor/blender)
6-8 medium sized strawberries- cut tops off and chop ( I did not hull them out)
    1 apple chopped (I left skin on)
    ½ cup honey
    2 tsp vanilla extract
    1/2 tsp cinnamon

Directions:

1. Wash and chop rhubarb- MAKE SURE NOT TO USE LEAVES
2. Wash and chop apple
3. Wash and cut strawberries

4. Add rhubarb, apple, and strawberries to a food processor or ninja.
5. Puree together until smooth in your food processor. ( It took about 2 mins. in my ninja)
While pureeing you can add the honey, vanilla, and cinnamon to a large pot.
6. When you have a smooth puree, pour the mixture into at the pot with honey, vanilla, and cinnamon.
7. Bring mixture to a boil, stirring to ensure it does not burn.
8. Once boiled, reduce heat and let mixture cook on a  simmer and continue to stir every 4-5 minutes.
9. Cook for about  20 minutes or until desired consistency is reached.

10. I added it back into the ninja and pureed it after it was done cooking to reach a smoother consistency.
11. Pour into container you will be storing the jam in. If you know me it is a mason jar :) Let cool.
**** store in fridge.


Let the BBQ season begin :)


BBQ SEASON HAS ARRIVED :) If you know me at all you know that I love to BBQ. ANYTHING. Dessert as well. Sorry if that got your hopes up this is not a bbq'ed dessert.... I was really excited because my cousin was having a BBQ this weekend! I know I wanted to make something but was not quite sure what. I know my family is usually over-prepared with the dessert foods so did not want to make too too much. I also know that my family is obsessed with York Peppermint Patty candies so wanted to somehow incorporate those into this dessert (because the family that was hosting is particularly obsessed! ). I did a little thinking and brainstorming and came up with brownies or cookies but then found out that someone was already bringing cookies and then a chocolate dessert (not that there is such a thing as too much chocolate but wanted to switch it up). Last weekend I made some rice crispy treats for someone who was gluten free BUT little did I know regular Rice Krispie cereal is NOT gluten free....there is a different box (yellow not blue). OH WELL. The other people seemed to enjoy so although I do not like to bake the same thing two weekends in a row I also know my family really likes Rice Krispie treats as well. BUT I did not make any ordinary rice crispy treat. I made peppermint patty treats :) Now a little side note.....apparently I can make intricate desserts in one try but Rice Krispie treats are another story.... I had a few mishaps.....
and originally forgot to add the butter until later BUT I am going to say that that oversight made them even better! I might just make them that way next time! I will post the regular way though. Basically you just follow the recipe on the back of the cereal box!

Ingredients:
  • 3 tablespoons butter
  • 1 package (10 oz., about 40) JET-PUFFED Marshmallows  
  • 5 cups of Rice Krisipies Cereal 
  • 20 unwrapped York Peppermint Patty Candies 
Directions:

1. Prepare candy and unwrap
2. Chop into small bits or just break apart (if it is warm be careful because they melt quickly)


3. Place marshmallows and butter in a BIG microwave safe bowl. Cook for one minute. Take out and give a good stir. Place back in microwave and cook for another minute. Do not do what I did.....make sure you use a BIG bowl.
 4. Place cereal in LARGE mixing bowl. 
 5. Add marshmallow mix and the majority of the chopped up candy. Mix around so the chocolate melts. 
6. Add in a few of the remaining chopped up pieces and mix until combined and still together. 
7.  Add to lined baking dish or SPRAYED dish. 
8. Top with any remaining chopped up pieces.
9. Let sit and then enjoy or just enjoy!


Sunday, May 17, 2015

Just preparing for berry picking season :) Strawberry Shortcake Biscuit Cookies


 Sunday Sunday Sunday.....yes that means baking day :).  Baking for me is not a chore it is something I enjoy doing and something that relaxes me. I was going to do some baking this week but never got around to doing it. I guess going to the chiropractor was a better choice. Anyways we had some strawberries last week that needed to be used up (that is also another reason why I was going to bake) so was trying to think of something with strawberries. I also had some overripe naners but as you know those were put to use. I was going to make a strawberry nanner muffin with them though! Next time.  If you do not know me you don't know that other than ice cream, strawberry short cake (using biscuits not the fake kind) is my other all time favorite treat. I was going to stray from my normal cookie routine and then I found a recipe for strawberry shortcake cookies online and adapted it quite a bit. The consistency is more like a biscuit/scone than a cookie (really it is not like a cookie at all). That is something to keep in mind if you are planning on making these. If you are expecting a cookie similar to a traditional chocolate chip cookie than do not make these! If you are interested in the original recipe you can find it here....http://www.spoonforkbacon.com/2015/05/strawberry-shortcake-cookies/ . As you can see from the picture I enjoyed one or two before they cooled off. I also highly suggest topping with some ice cream....or making them bigger and using them for the biscuit base for a shortcake (I will try that come strawberry season........I was just testing some recipes before hand :) ).


Strawberry Shortcake Biscuit Cookies

Ingredients:
1 cup chopped strawberries ( I used a combo of 7 small and medium ones)
 1 tablespoon of honey
2 cups of white wheat four (this does make them taste different--if you want the true biscuit flavor go with all purpose--my dad made sure to make that comment)
1/4 cup of white sugar ( and a little more--I had 1/2 measured out but did not use the whole thing)
2 teaspoons baking powder
1/4 teaspoon baking soda
a pinch of salt
1/2 cup Siggis strawberry flavored yogurt (one container of it)
1 teaspoon vanilla extract (or a pour)

vanilla glaze:
1/2 cup powdered sugar, sifted
1 tablespoons milk
vanilla extract ( I used too much because of that I added more sugar and milk until it was at a desired consisency and taste)
1 teaspoon honey


Directions:
1. Preheat oven to 350°F and line baking sheets with parchment paper. 
2. Dice/chop strawberries -make sure that the pieces separate so each cookie gets some lovin' :) 


3. Place strawberries and honey  in a small container and mix until strawberries are well coated with the honey. Place in refrigerator and set aside.


4. In a mixing bowl, sift together the flour, sugar, baking powder, baking soda, and salt.


5. Stir in the Greek yogurt and vanilla and mix until just combined. The dough will be crumbly and this is what you are looking for.


6. Fold in the strawberry mixture mix until well combined.

7. Form a ball out of the dough to make sure you have everything mixed together and off of the bottom. 

8. Spoon desired sized dough onto lined baking sheets (when I am bringing the baked goods places I tend to make them a bit smaller but would make these bigger next time).


9. Bake for 10-12 minutes or until the cookies have barely started to brown on top (these are for the smaller sized---bigger biscuits would probably require a little more time to cook inside about 15-18 minutes). 


10.  Remove from the oven and transfer cookies onto a cooling rack and allow to cool completely.

11. While the cookies are cooking (or before if you have no self control like me) make the glaze: 

Place the sugar, milk and vanilla into a small bowl and gently wish together until no lumps remain. 
Drizzle glaze over cookies and serve or allow to set before serving (HA yeah right).


12. Enjoy :) 


Sunday, May 10, 2015

nanners nanners nanners..........a belated Cinco de Mayo treat.


As you know I take any holiday as an excuse to bake. And again as you know, last week was Cinco de Mayo. I did plenty of research as to what I wanted to bake. I have already done margarita cupcakes and some other traditional Mexican desserts....well not so much traditional but ones that are similar to the margarita cupcakes. I know churros are a typical Mexican dessert but do not trust myself frying them....I found a recipe for a baked version but if I am going to make churros I am going to fry them so I want to wait. While looking around I stumbled upon this recipe http://www.babble.com/best-recipes/churro-swirl-banana-bread-the-best-banana-bread-youve-ever-made/   and decided it would be my adventure. Churro swirl banana bread YES PLEASE. I had mixed all the flour and powders together because I was busy after school so wanted to be prepared ahead of time (odd I know). I was all set to go but then realized it was teacher appreciation week so we had a breakfast and luncheon...I knew there would be so much food left over so I waited until tonight to make the bread. I am glad I did because it gave the naners time to become more ripe and sweeter. The recipe is pretty easy to put together and takes about 45minutes to bake. I decided to make the bread in a 13in. x 9 in. pan instead of two separate loaf pans (it is easier to share this way :))


Ingredients:
For the bread batter:
1 cup unsalted butter, softened
1 cup dark brown sugar ( I was out of regular so used this instead)
4 eggs
2 tablespoon vanilla extract ( about...you know me....2 nice pours)
4 cups white wheat flour
2 tsp baking powder
6 very ripe bananas ( I had some larger ones and a couple smaller ones)
Churro Swirl:
1 cup sugar
4 Tablespoons cinnamon ( give or take---I used about 3.5)

Directions:

1.Preheat oven to 350 degrees.
 2. Line baking dish with parchment paper (or you could spray it but I am lazy and love parchment paper...easy to clean after)

3. In a mixer cream together the butter, sugar, and eggs and vanilla extract and mix well.

4. Add the flour, baking powder, and bananas mix just until combined. ( I added some flour and naners then mixed then added again and repeated twice) .


5. Mix batter with spatula before you take it out to ensure everything is mixed. The batter becomes quite thick and you want to make sure everything is spread out.


6. Carefully spread a  layer of batter on the bottom of the pan. The batter is hard to move around it is becomes quite messy. (sticks a tad to the parchment).
7.  Sprinkle with cinnamon-sugar mixture, then spread a second layer on top and repeat until you are out! ( I have a layer of batter, then churro mix, batter, churro mix, batter and then a final topping). It is ok if when you are putting the batter on top of mix it all combines....more goodness in the batter :)


8. Bake for 45-50 minutes, or until loaf springs back when touched in the center.

9. Let cool in pan on wire rack for 10 minutes or get a spoonful or peanut butter and enjoy :)
10. Remove from pan, slice, and serve warm.