Sunday, June 21, 2015

Strawberries for Days.....berry picking and my favorite dessert.


                                                   STRAWBERRY SEASON IS HERE :)

 SUMMER has finally arrived. Although I am teaching summer school come July, Friday was my first official day of summer. But of course I had a doctors appointment that morning. That is ok it was a short one for my foot! Anyways, I was already in Providence and have had the want to go strawberry picking from seeing all the pictures online. Other than ice cream strawberry shortcake (with biscuits and not cake style) is my favorite dessert. I could eat it for every meal. Ok not really but you get my point. Heat the biscuit and top it with ice cream, strawberries and whipped cream and you have one happy girl. SO GREAT. Anyways...I decided because I was already half way there why not head over to the lovely Four Town Farms in Seekonk. This place has become my new favorite (well last summer it did). Everything is so fresh and they have an awesome you pick flower place come later in the summer! I can't wait! I headed over there in the hopes it would be less crowded on a Friday than a Saturday. I think a lot of people had the same thought. That is ok though because they have a pretty great system going on. You hop on the hay ride to the field and are then assigned a row to pick it! A ROW just for you! It was AWESOME. I kept the little girl next to me entertained and went a little overboard with the amount I was picking. BUT in my defense I was planning to bake a pie as well. See my dad always says why can't you just make a regular pie (using AP flour and not white wheat or regular cookies). He has been making this statement a lot lately because he loves rhubarb. So another reason why I wanted to go picking was to get fresh berries for the pie to make for Father's Day (we grow our own rhubarb). So in my head the amount of berries in my basket was justified :) . After deciding I had plenty of berries, I decided I should stop because I could always go back if need be :). Also, I was just super hot at this point because the sun decided to come out and be about 88 degrees. Before leaving I wanted to pick some peas! This farm is just so cool, right next to the berry field they had a section where you could pick your own peas. Now I have never really been a person just to snack on peas but have been taking them to work with lunch and am addicted now! There were a lot of people picking these too. I have never seen such fat peas and they are delicious. Just look they are huge!
I saw the tractor coming back so finished up picking the peas and hopped back on. Of course I just had to go in and check out the farm store too. Not only for veggies but for flowers too ( I knew I was baking so was good and skipped over the baked goods). After perusing around a bit I ended up with enough veggies for days (or knowing me a day ha). Again, everything is just so fresh and VERY reasonably priced (almost a steal!). I did not end up with any flowers but checked out my Gerber daises I had purchased a few months ago when I got home....Still growing nice and tall!


Sorry for the rant if you are reading this you want to know how to make strawberry short cake...onto the recipe. I found the original here.... http://www.takeamegabite.com/strawberry-sorbet-honey-shortcakes/.....but of course put my own Betty twist on it. There is no added sugar (the sweetness comes from honey--but it is not an overwhelming flavor because my mom doesn't like honey and she likes these and said they taste good) which I like because when you have fresh berries they tend to be sweet enough on their own! Enjoy!


Strawberry Shortcake Biscuits:

Ingredients:
  • 1 and 3/4-2 cups white wheat flour
  • 1/2 t baking soda
  • a pinch of salt
  • 6 TBSP cold butter
  • 1/2 cup + 2 T milk (buttermilk would probably be the better choice but I did not have any in the fridge so went with regular milk)
  • 3 TBSP honey ( plus a squirt or two more of the bottle to cover the amount that might have not made it from the TBSP measuring spoon:) )
  • A dash of cinnamon
Directions:
  1. Preheat your oven to 400F. Line a large baking sheet with parchment paper. Set aside.
  2. Whisk together the flours, baking soda, and salt in a large bowl. 
     
  3. Cut the cold butter up into small pieces and add into the dry flour mixture. Mix until flour combines with butter. The butter should be small pea size crumbles.


  4.  Whisk together the buttermilk and honey in a separate bowl. Add the dash of cinnamon and whisk until incorporated.
  5.  Pour the wet mixture over the dry ingredients and stir with a wooden spoon just until ingredients are combined. You do not want to over work the dough.
  6. Pour onto a floured surface and knead a few times, adding a few more handfuls of flour until the dough holds together nicely and isn’t too wet. Biscuit dough should not be too dry but also not be too wet ( I did have to add about 1/2 cup more flour). 
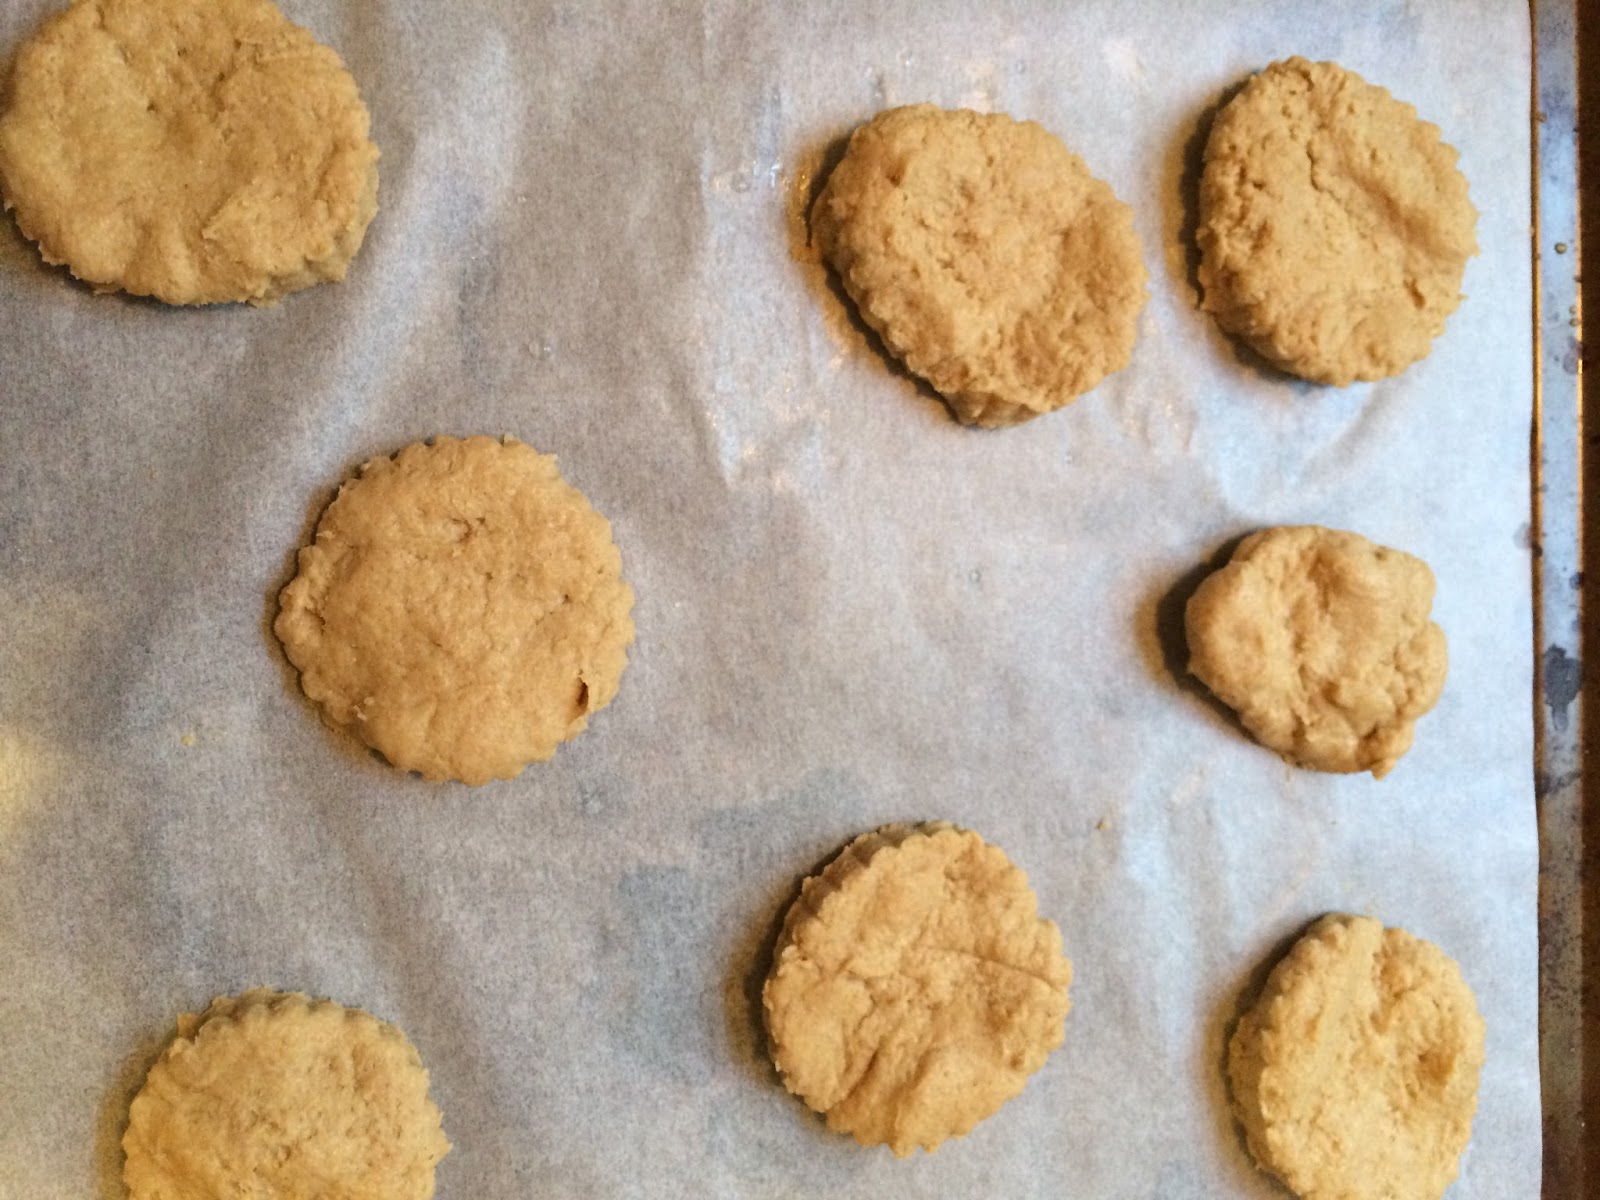
  7. Using your favorite biscuit cutter cut or the bottom of a cup ( you can even just make them drop biscuit and use a spoon) out shortcakes.  
  8.  Brush honey on top or brush milk and sprinkle white/brown sugar on top. I tried the honey this time and loved it!


  9. Place on a baking sheet and bake for 10-12 minutes or until lightly golden and baked through.


  10. Cool thoroughly on a wire rack or enjoy as a short cake right away...or maybe in 5 minutes :) (they are already nice and warm :) ) Cut it half (starting from the side DO NOT cut in half from the top you want it like a sandwich!). Top with whipped cream, strawberries, and ice cream! or how ever you like your shortcake! 

Sunday, June 14, 2015

Chocolate Chip Oreo Blondie Bars


Yes you can call me a nerd but I love my job. Therefore I bake for my kiddos and give them some pretty fun gifts if I do say so myself....

 Anyways back to the baking. I have noticed during snack time and lunch that Oreo cookies are quite popular in my class this year so why not bake with them? Now I do love cookies but Oreo cookies are not my top choice. BUT these birthday cake ones have made me find my liking for oreo cookies again....they are a little deadly to me. NO CONTROL. Oh well.
Again, back to the baking...I found this recipe ( http://www.iheartnaptime.net/chocolate-chip-oreo-cookie-bars/) while searching for Oreo desserts but of course had to put my own Betty Twist on it. I took out the white chocolate chips and subbed in the birthday cake cookies. I also changed around a bunch of the measurements. Have fun! Feel free to use any variation of the cookie and let me know how it works if you do!
Ingredients:

    2 cups brown sugar
    1 stick unsalted butter (softened)
    2 eggs
    1 tsp vanilla ( or a nice pour :) )
    2 cups all purpose flour
    2 tsp baking powder
    a pinch of salt
    12 OREO cookies (crushed)
    1 cup mini chocolate chips

Optional: Top with 5 extra OREO cookies (crushed)
Directions:

1. Pre-heat oven to 325 degrees and line a 13x9 with parchment paper
2. Crush OREO cookies- I placed mine in a plastic bag and crushed them with a big spoon!

3. Cream butter and sugar in a large bowl with a mixer.


4. Add in eggs and vanilla and stir until combined.

5. Mix the baking powder and salt with 1 cup of flour.
6. Pour 1 cup of the flour mixture into the butter mixture and mixed until combined.

7. Add in the rest of the remaining flour mixture and mix until just combined.

8. Mix in the chocolate chips until combined.
9. Mix in the OREO cookies until just combined.


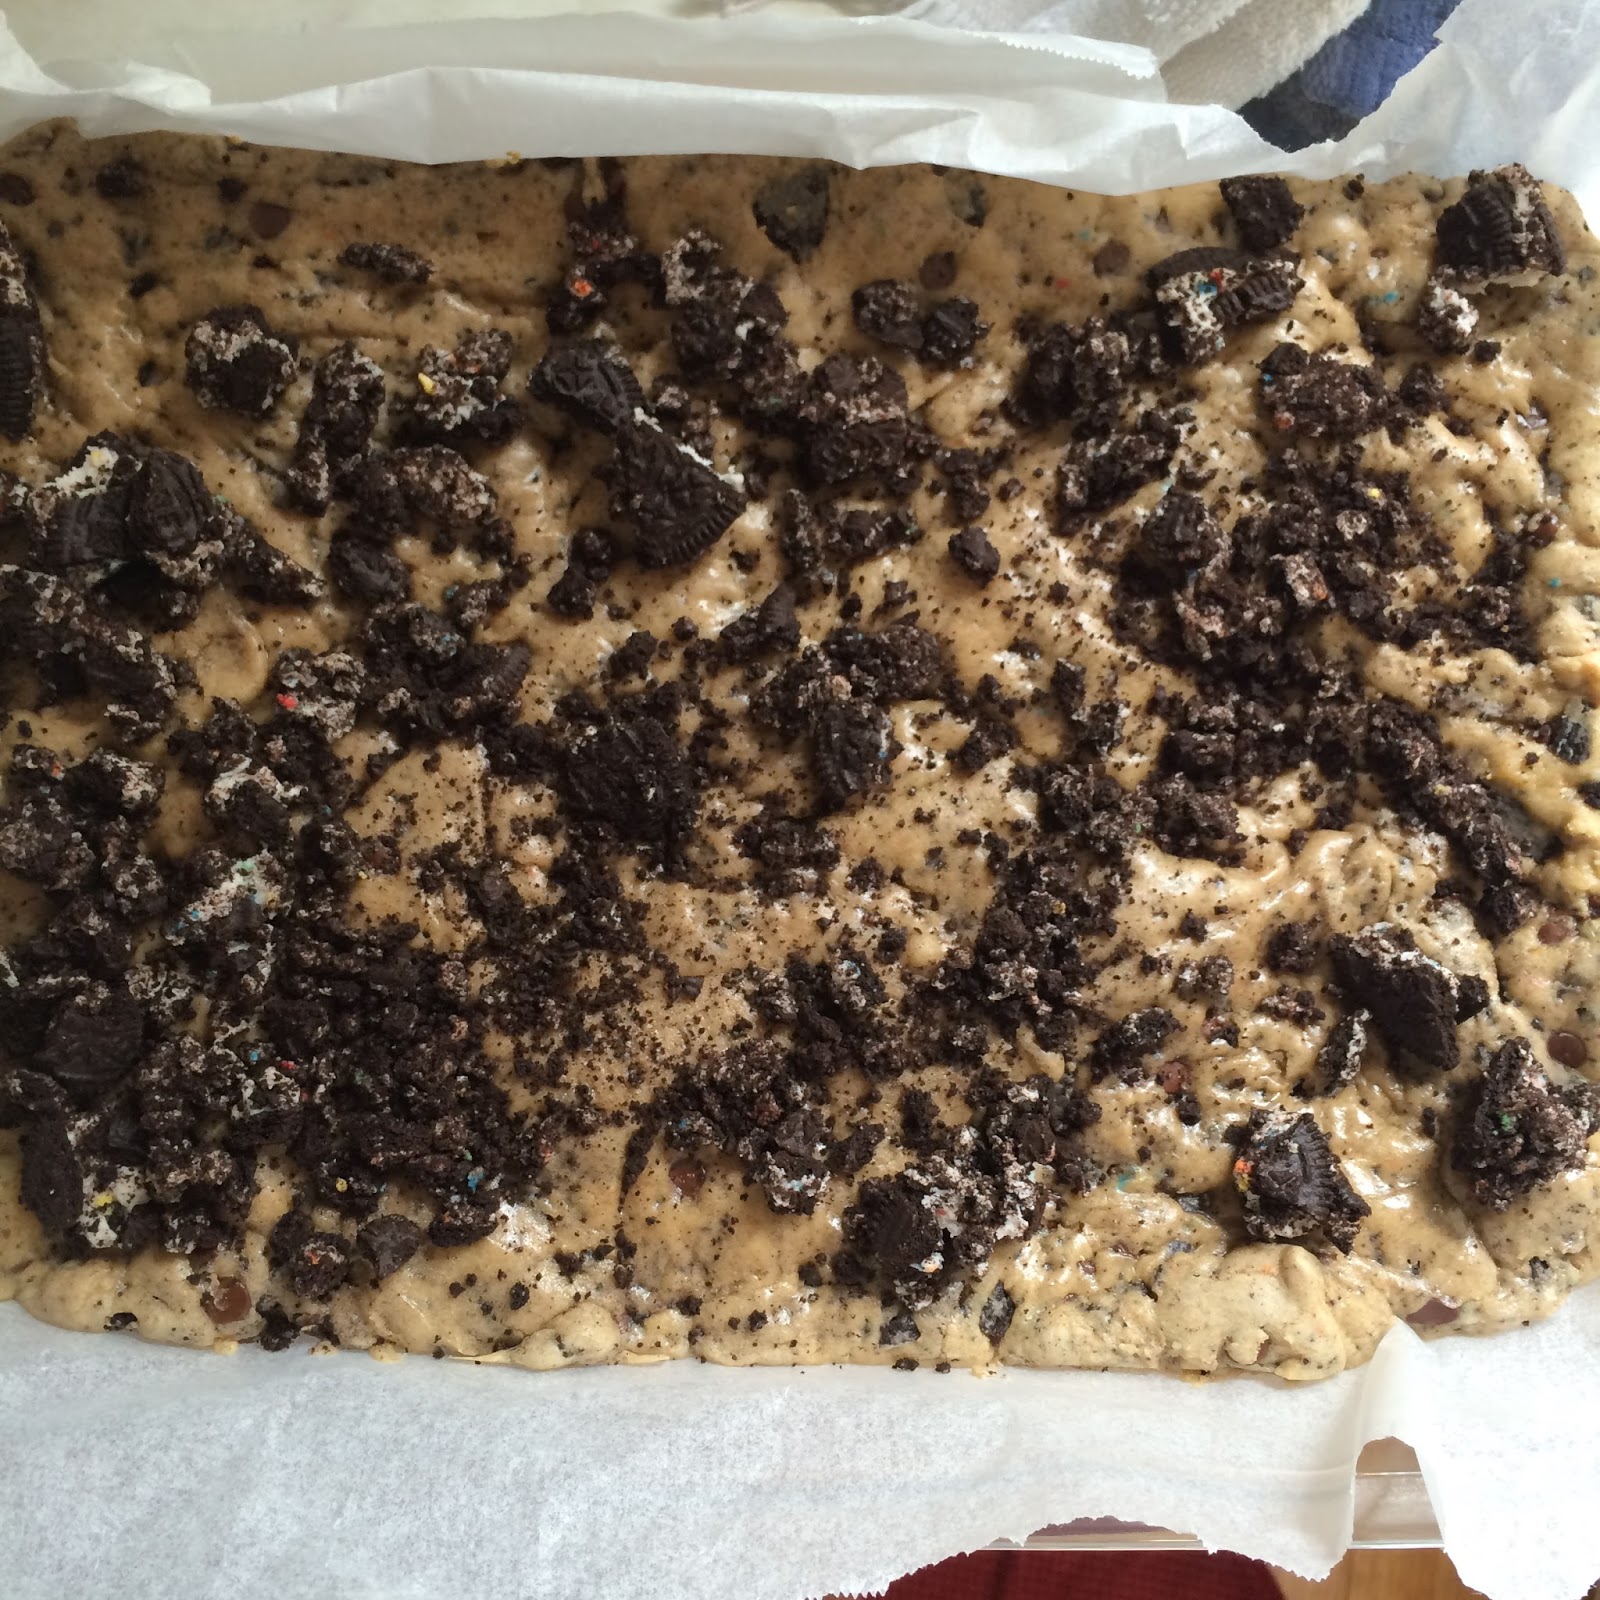
10. Add dough into the lined baking dish with rubber spatula-Dough is tough to spread so make sure it is even.

11. Place in oven and bake for 30-35 minutes on until lightly browned and knife/toothpick comes out clean minus some chocolate :). If you would like take the bars out 15 minutes in and top with OREO’s that you have crushed for the top. ******See note at bottom


12.Allow bars to cool ( if you want!) and enjoy with a cold glass of milk or ice cream or both :)


**I had to put my bars back in after cooling for about 20 mins. The bottom was quite gooey still.  I don't mind it this way but some do. I put the oven at 350 for 8 mins and covered the top with tin foil

Friday, June 12, 2015

Healthy Raspberry Peach Snack Muffins


Raspberry Peach Muffins
Hello! I am still looking and trying for new recipes for after I work out in the morning to take on the go to work! I find myself buying way too many muffins a week at the coffee shop so I have been trying new recipes of my own to save money ( buying them everyday adds up!) I made these and froze them after a day to keep them fresh. I take them out in the morning on the way to the pool and put them in my lunch box (wow that sounds quite nerdy). They are a good temperature to have after swimming when I get to work! They are pretty good nuked in the microwave for a few seconds as well. With strawberry season upon us I think I will make a strawberry variety next.
IMG_8777.JPG


  • 2 cups oat flour
  • 1/2 cup almond flour (could sub in white wheat or all purpose!)
  • 1/4 cup ground flax
  • 2 teaspoons baking powder
  • 1 teaspoon baking soda
  • 1/3 cup honey
  • 1/4 cup melted coconut oil
  • 1 egg
  • 1/2 cup milk
  • ¼ chopped peaches
  • ¾cup raspberries
      (you can switch around fruit measurements or all more or less of both up to your tasting preferences!)
Instructions
Preheat oven to 350 degrees F.
  • Whisk together the oat flour, almond flour, flax, baking powder, and baking soda in a large bowl.
  • In a separate bowl, stir together the coconut sugar and melted coconut oil. Add in the eggs and milk, stirring until smooth.
  • Add the wet ingredients to the dry, stirring until just combined. Add in the diced peaches.
  • Divide the batter evenly among a muffin tin (greased to prevent sticking, or use paper muffin cups) and top with extra peaches, if desired.
  • Bake for 20-25 minutes, until a toothpick inserted into the middle of the muffins comes out clean.
  • Enjoy fresh or warmed up :)
        Store in airtight container in fridge after a day or freeze for later!


FullSizeRender.jpg
FullSizeRender.jpg'

adapted from:http://www.fannetasticfood.com/2014/06/20/dairy-gluten-free-peach-muffin-recipe/

Sunday, May 31, 2015

Summer fever still.....Strawberry Rhubarb Crumble


I am going to save the small talk and get right to the point. YOu can read about the summer fever and rhubarb in the jam post :). Again just like every other time I bake I just wanted to bake! No excuse really neeeded but I found some anyways. These were suppose to be  crumble bars but turned more into just a crumble. Because of that I (with the wonderful help of the smartest mom ever) put them into cupcake liners to share with others. I found the original recipe here http://www.peanutbutterandpeppers.com/2014/05/17/strawberry-rhubarb-crisp-bars-vegan-gluten-free/
but of course changed it around a bit. OH ALSO. I intended to make just one batch but doubled the recipe so this recipe reflects the double recipe! Enjoy :)

Ingredients

    2 cups small-diced rhubarb
    1.5 cup diced strawberries
    1 tsp. cornstarch
    1 tbsp. fresh lemon juice ( I just squeezed half a lemon)
    1 tbsp. granulated sugar, divided
    2 cup rolled oats
   1 cup almond meal
    2/3  cup dark brown sugar
    a pinch of salt
    ⅛ tsp. baking soda
    11 tablespoons coconut oil, melted
    extra brown sugar

Instructions

   1. Heat oven to 350 degrees F.
    2. Line an 9 x 13in  pan with parchment paper
   3. Chop and dice rhubarb and strawberries.


   4. In a bowl, add rhubarb, strawberries, cornstarch, lemon juice,and sugar, mix until combined; set aside (it was really warm in the kitchen so I put in fridge)


   5. In a mixing bowl add oats, almond meal, brown sugar, salt and baking soda; mix until combined.   

 6. Pour melted coconut oil over the top; stir until combined.  At this point I mixed together with my hands :) Coconut Oil is good for the skin isn't it?!
 7. Reserve a half cup of mixture and press the rest of the crumb mixture evenly in the bottom of the pan.
8. Spread fruit over the crust. 
9. Scatter reserved crumbs over the fruit.

10. Bake the bars in the oven for 25 - 30 minutes, until fruit is soft and lightly golden in color.

11. Let bars cool in pan and cut into squares. Mine crumbled so I cut into squares and then put in cupcake liners. 
12. Enjoy plain or heat and top with ice cream :)


Summer fever has hit.....hit hard. Strawberry-Rhubarb Butter/Jam


Clearly I am just in the summer mindset. While perusing the farmers market the rhubarb just looked so good…summer fever has hit. As of last weekend our rhubarb was not ready so I picked up a bunch while at the market only to come home to find out ours is now ready. That only means double the cooking/ baking :) I know it is not truly strawberry season here yet but the berries from the market have been quite tasty. I have not dabbled in the jam making too much but have been wanting to make a strawberry Riesling jam that I did last year again soon. I was planning on making that but with the rhubarb purchase I decided to wait. Instead I found this recipe that I decided to try out    www.meghantelpner.com/blog/quick-and-sweet-like-rhubarb-butter/.
Of course I made some changes and made it my own. If you would like the original just rhubarb butter recipe you can head over to this blog for the recipe 

***I am also using this as a chicken marinade today too! (CAME OUT AMAZING)


Strawberry-Rhubarb Butter/Jam

Prep time: 5

Cook time:  15

Total time:  20

Ingredients

    4 stalks of rhubarb-chopped into pieces (does not really matter size just small enough to fit     into processor/blender)
6-8 medium sized strawberries- cut tops off and chop ( I did not hull them out)
    1 apple chopped (I left skin on)
    ½ cup honey
    2 tsp vanilla extract
    1/2 tsp cinnamon

Directions:

1. Wash and chop rhubarb- MAKE SURE NOT TO USE LEAVES
2. Wash and chop apple
3. Wash and cut strawberries

4. Add rhubarb, apple, and strawberries to a food processor or ninja.
5. Puree together until smooth in your food processor. ( It took about 2 mins. in my ninja)
While pureeing you can add the honey, vanilla, and cinnamon to a large pot.
6. When you have a smooth puree, pour the mixture into at the pot with honey, vanilla, and cinnamon.
7. Bring mixture to a boil, stirring to ensure it does not burn.
8. Once boiled, reduce heat and let mixture cook on a  simmer and continue to stir every 4-5 minutes.
9. Cook for about  20 minutes or until desired consistency is reached.

10. I added it back into the ninja and pureed it after it was done cooking to reach a smoother consistency.
11. Pour into container you will be storing the jam in. If you know me it is a mason jar :) Let cool.
**** store in fridge.