Sunday, January 31, 2016

Another breakfast to go....Apple raspberry peanut butter mini muffins


As you know I LOVE peanut butter and almond butter and love to bake and make new creations. I have been looking and experimenting with breakfast in the go recipes because although I love my muffins from the coffee shop my wallet is not loving them as much :/ . I found this recipe via Instagram from someone I follow that endorses nuts n more products. I already bake and cook with their products but this recipe was another excuse
To use the powder which I tend to use less of compared to the actual nut butters. Head over to http://chefmiami.com/recipe/chef-miami-blondie-peanut-apple/ 
for the original recipe. I have added raspberries and the maple powder vs plain. I also baked the batter in mini muffin tins instead of a loaf pan so I can freeze them and take them in the go easier . Enjoy!!

Apple raspberry peanut butter mini muffins 


Ingredients

1 chopped apple (with or without skin)
½ half cup of raspberries (fresh or frozen-if frozen let thaw out a bit until softer)
2 cups almond flour
1 tsp baking powder
1/2 cup milk
1/4 cup nuts n’ more maple peanut butter powder
1 scoop vanilla protein powder (optional)
3 egg whites


Directions:
Step 1

Preheat oven to 350 F. Spray a loaf pan /or line mini muffin pan with liners. Chop apple.

Step 2

In a bowl combine almond flour, baking powder, peanut butter powder and protein powder.

Step 3

Add milk and egg whites. Combine until well mix.

Step 4

Add chopped apples and raspberries and mix until just combined.

Step 5

Evenly pour batter into the loaf pan or into the muffin tin. Bake for 30 minutes (if loaf pan if mini muffin tin 15-25 mins until tops is golden brown and middle is cooked) . 

Step 6

Enjoy maybe topped with some more nuts n’ more peanut butter and ice cream :) 


Thursday, January 28, 2016

Super easy and quick tuna salad for a meal on the go.


Hello! This is where Betty is going to stray from the baking…. Yes I did say that. If you have read the previous post you know I am now an ambassador for Siggi’s yogurt. I have always enjoyed this yogurt and have it regular, use it baking, freeze it, use it in smoothies, eat with fruit and I could keep going for days! I also cook with it. This week I had a training for school about an hour and a half away from my house and know I will be on the go so wanted to make something quick and easy to take and have. This is why I am sharing this super easy 5 minute tuna salad with you. Enjoy! 

Ingredients:

-One can of tuna ( your preference on what kind--you could also use chicken as well- if it is precooked won't add time but if you need to cook the chicken the recipe won't be as quick!)
- one container (5.3ounce) of Siggi’s plain yogurt( I will be honest here I bought vanilla by mistake and I like it with the vanilla but does make the salad sweeter)
-handful of red grapes
- half a bartlett pear ( or a whole depends on your preference also type depends on what you like as well) 
-2 stalks of celery chopped 
-pepper (optional) 

Directions:
Open and drain tuna can
While tuna is draining cut grapes in halves of thirds depending on how large they are. 
Chop celery if not already chopped 
Chop pear into small chunks
Place tuna in a bowl and add the fruits and celery. 
Add yogurt a bit at a time until you have it as creamy as you would like! (I used the majority of the container partly because I was eating it too)
Mix together and sprinkle with pepper if you would like! 
Make a sandwich, top a salad or eat right from the bowl!
If you have any left place in an airtight container and in the fridge


Monday, January 25, 2016

News and a quick way to make a healthy sweet treat at home


Other than my announcement of getting back to my blog I have never had to make one before! I guess there is a first for everything. I am happy to share that I received an email tonight telling me that I have been chosen to be a Siggi's yogurt ambassador! If you are unfamiliar with the brand I would go to their website and read about them! http://siggisdairy.com/ and then of course try the different flavors! My personal favorites are the raspberry and the vanilla (actually taste like vanilla not a fake flavor). They are all really good and the company has a lot of seasonal flavors as well. I first stumbled upon the company when I tried greek yogurt and was not a huge fan of the tart flavor but wanted the protein. This yogurt is not tart and it has just as much OR more protein than most greek yogurts. Even better, it has no added ingredients that you can't pronounce and hardly any sugar at all (depending on flavor). It is heavy enough to be filling but not too heavy that it can be a great snack as well. Other than for baking and the following sweet treat I am not a fan of any type of plain yogurt but Siggi's is a mild flavor so I do not mind it. I use it to bake with and to create the following sweet treat.....enjoy!

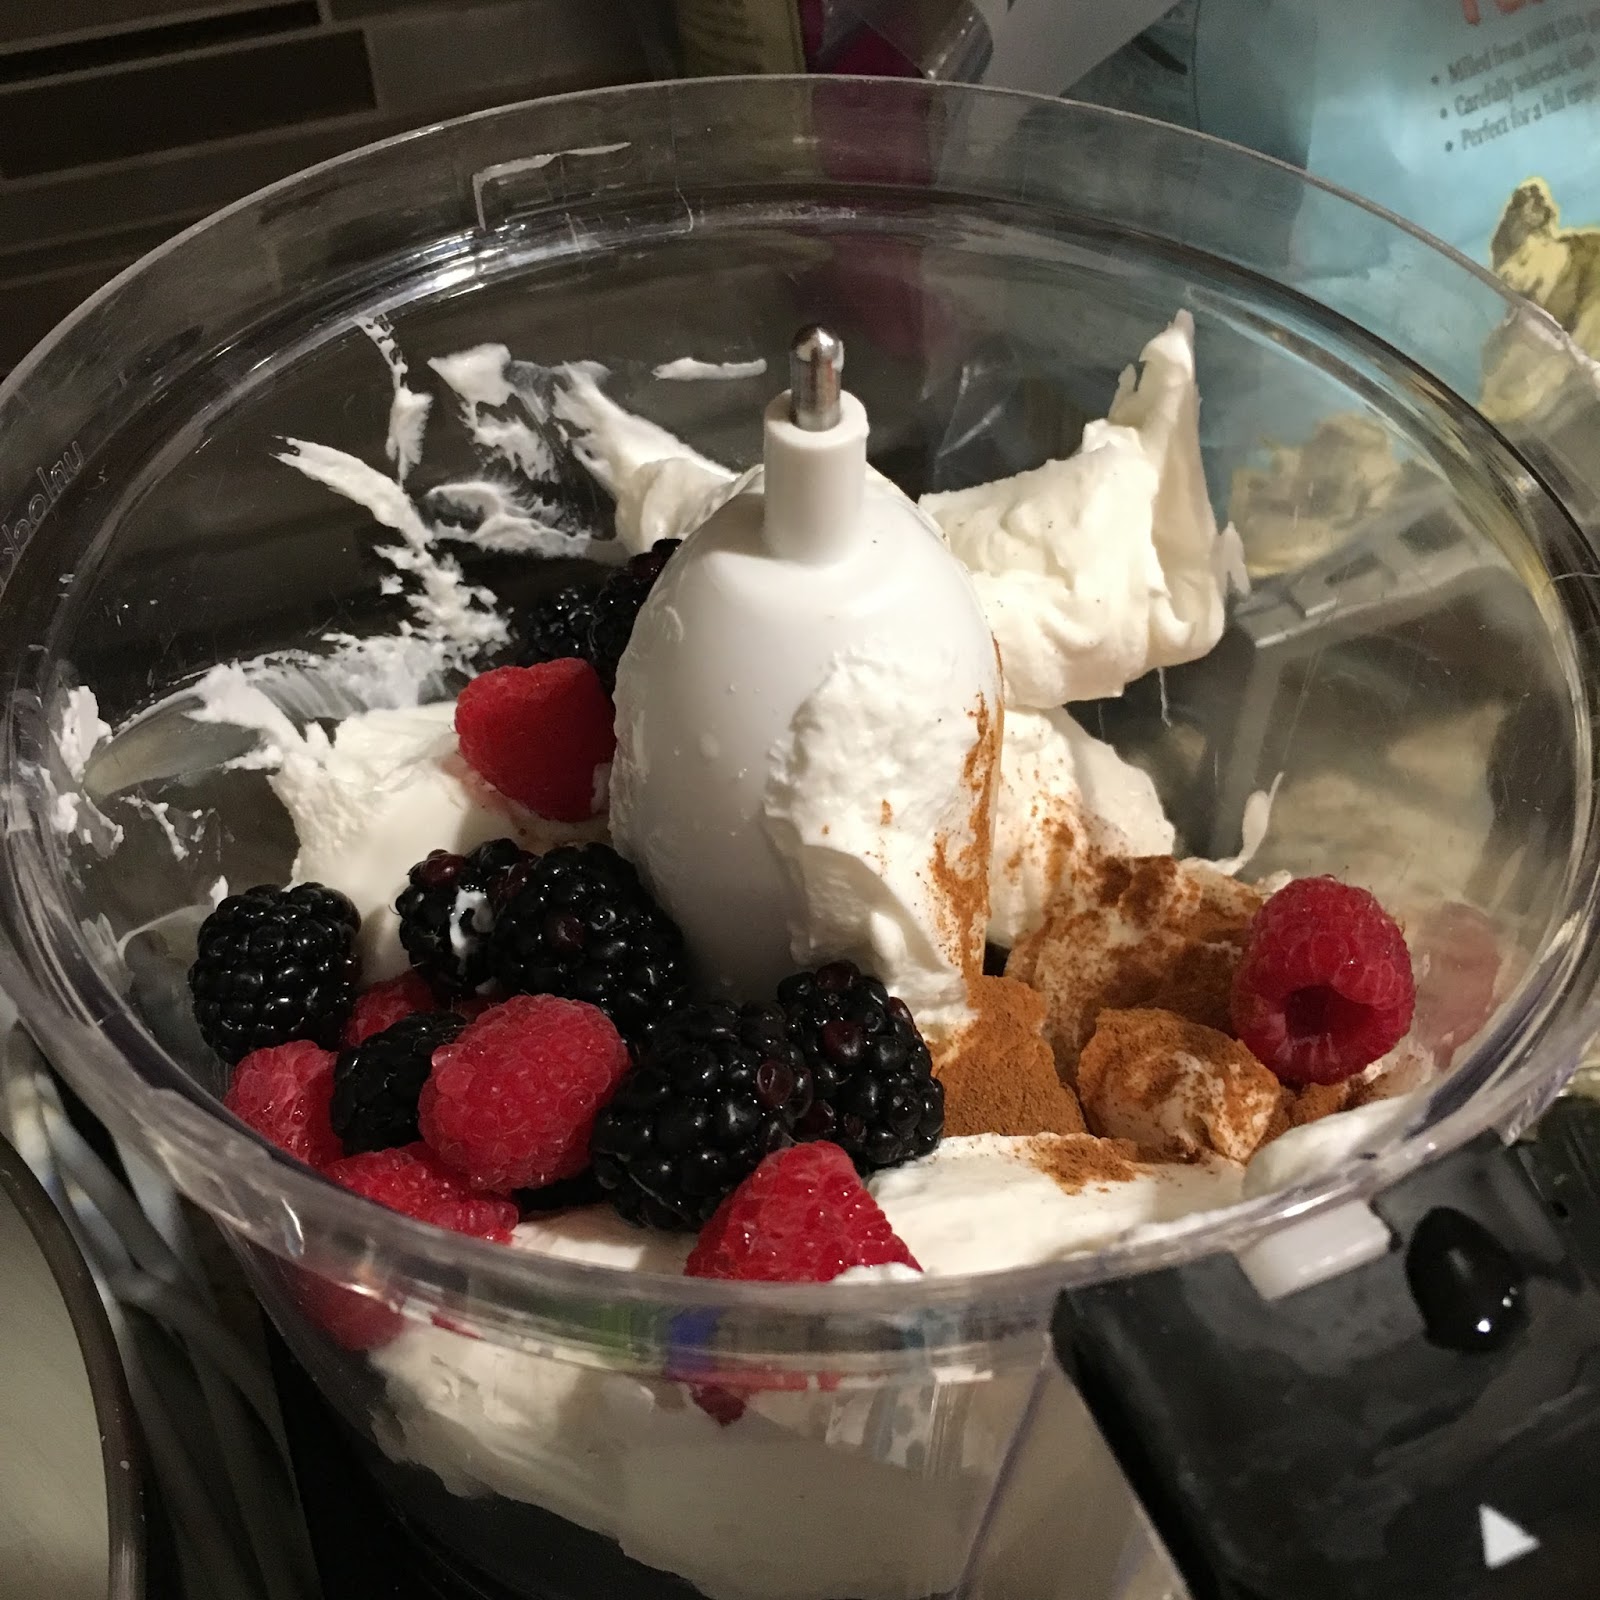
 Super easy and super healthy "frozen yogurt"

Ingredients:
  - One container of Siggi's yogurt---flavor of your choice ( I tend to use plain because it is sold in the big container and has less sugar and I get enough sugar with my other treats!--but have also used the other flavors as well)
-any fruits of your choice ( I used a hand full of blackberries and a handful of raspberries this time---I also like orange and raspberry, blackberry and pear---depends on what you like--watermelon is also good but be careful because it makes the consistency more watery so add less fruit!)
-a nice pour of cinnamon (or a spice that goes with the fruit combo you choose)
-a pour of maple syrup or honey (again depends on what fruit you choose)
-additional add ins- any nut butter flavor or nut butter powder, chocolate chips, sprinkles, jimmies.....be creative

Directions:
1. Put all ingredients in a food processor
 2. turn on and leave for about a minute-stop the processor and wipe down the sides to make sure everything gets mixed.


3. turn back on for about 1-2 minutes.
4. Place in as many freezable containers as you want (as long as you don't eat it all first!)

5. Place in freezer and take out and leave out to defrost when you want a little treat or before bed! ( you can also melt in microwave for no longer than 15 seconds at a time depending on size of container! I put in for about 17 with my size)
6. Enjoy!  My favorite thing to do is let it melt and then top it with some peanut butter or almond butter! 

Sunday, January 24, 2016

Coffee almond butter breakfast cookies....or whatever you want to name them.


First off….a staff meeting always means Betty will be baking. I knew the third grade team was not in charge of food but wanted to bake...I just had the itch to. Oh wait I also had really ripe naners and a new jar of coffee almond butter...those might have been part of the itch. A lot of my coworkers are trying very hard to eat healthy and clean so I did not want to deter them from this so tried to brainstorm something that would work (because classic banana bread would not have been so healthy….). I have made the 3 ingredient banana oatmeal cookies before when craving something simple and needed to use up naners. I loosely based these cookies off of those knowing some of the staff is not eating flour, butter, and I do have a gluten free team member. So these little oatmeal breakfast bites or breakfast cookies were born...you can name them whatever your little heart desires.

Coffee almond butter breakfast cookies


Ingredients:
1 cup of oat flour ( I just place my oats in the food processor and grind them until the texture resembles a four)
¾ cup old fashioned oats ( not ground up)
2 overripe naners
¼ cup (and maybe a tad more :)) nut butter of your choice (I used buff bake coffee almond butter---you can use any flavor you like and then be creative with adding in cinnamon or nutmeg, chocolate chips,dried fruits, coconut flakes, honey, maple syrup)  
A dash of vanilla extract (optional)

Directions
      Preheat oven to 325
  1. Place the naners in a bowl and mix until mashed.
  2. Add in the ground oats and nut butter mixed until just combined.
  3. Add in the regular oats and anything else you might be adding ( vanilla, spices, chocolate chips, dried fruit). Mixed until just combined.
  4. Placed mixture in pan of choice or drop as rounded cookies on a cookie sheet - I made mine in a mini muffin tin with liners and they were great bite sized. (will not spread so make sure they are round).
  5. Place in oven and bake 10-20 minutes depending on what type of dish you are using and what size you have made them. Do not bake too long because they will dry out.
*even with the added oat flour these are more dense than regular cookies. I placed back in oven to make a little less dense- if you do that just make sure to watch and not over bake.
6. Cool in pan then place on rack.
7. I stored mine in an airtight container in  the fridge when I went to bed to take to work the next day. I would do this if you have extras as well.

A New Year a New me.....and Betty is Back in Town


Betty is back….new year new me :) apparently the post document with all recipes I was going to add didn't make it off the train saved all the way so I am just going to start fresh with what I have been making. If I find some of them I will add on. I will even be sharing some cooking recipes....yes I was serious when I said a new year a new me aka a new Betty :) 


Thursday, December 31, 2015

Very delayed updates to come!

I am working on putting together the recipes to match the pictures to update before school vacation is over :)

Monday, August 3, 2015

A birthday cake.....or cookie :) Giant Chcolate Chip Peanut Butter Cookie

Facts about Betty:
I like to bake. 
I partly like to bake to satisfy my own sweet tooth.
I like to bake for birthdays.
When baking for birthdays I put my own selffish desires aside and bake with the birthday person in mind. 
YES. I actually bake what they would enjoy. surprising. I know. 

This time I believe both parties benefited but I could be wrong (I know I did though!). I am not a HUGE peanut butter cookie fan BUT I am a HUE nuts n'more fan......I mean who isnt?! The recipient of this gift loves peanut butter cookies but I was not sure about his thoughts on cake so why not make a oversize peanut butter cookie to serve as a cake? The cookie vs. cake decision was made and it hightly benefited me because I got to open a new jar of nuts 'n more (my self control was missing when I did this woops....)  :) 
Just look at that delightfulness (yes I made that word up) in a jar. Anyways back to the recipe I used this recipe for a guide for measurements but changed it up a bit.
http://kirbiecravings.com/2015/03/single-serving-giant-flourless-peanut-butter-cookie.html

Giant Chocolate Chip Peanutbutter Cookie:


Ingredients:

  • 1/4 cup nuts n'more toffee crunch peanut butter (salted caramel is up next!)
  • 1/4 cup light brown sugar
  • 3/4 tsp baking powder
  • 1 tbsp of a whisked egg
  • 3/4 of a Trader Joe's Dark Chocolate bar chopped and some shaved (this is really up to your chocolate liking if you want more or less and if you want chunks or shavings in the cookie)
  • Trader Joe's Maple Agave Syrup
 Directions:
1. Preheat oven to 350F and line a baking sheet with parchment paper.
2. Chop and shave chocolate bar.
3. Whisk egg and set aside.

4. In a bowl combine the peanut butter, brown sugar, baking powder and whisked egg. 
5. Mix until batter is smooth. 
6. Add in the chocolate chips/chunks and mix until combined. (save a few to top the cookie with if you would like!)
****At this point I decided that the dough was a little too dry so I added a nice sized pour of Trader Joe's Maple Agave Syrup and mixed unitl combined. 
7.  Using hands shape the dough to form a round cookie shape and place on baking sheet (Press remaining chocolate on top if you set some aside). 

9. Bake for approximately 13-15 minutes until cookie is done. The edges should be browned but the middle will still be a lighter shade of brown.

10. Remove cookie from the oven. Cookie will still be a little soft still.  Let cookie cool on rack for about 15 minutes to settle and set before removing and eating.......because it was for a birthday I actually had to follow this step (but there were some nice crumbs around....)

11. Enjoy! I suggest heating up and topping with some ice cream :) or add in some candles and sing happy birthday to someone special :)